Introduction to Wasm-bindgen
Rust wasm module run using JavaScript. is considered to be a complicated procedure to simplify it, the tool wasm-bindgen is created.
The goal of wasm-bindgen is to enhance the "ABI" of wasm modules with richer types.
- wasm-bindgen allows Rust to see JavaScript classes, expose and invoke callbacks in either language,
- Send strings as function parameters, and return complex values,
All while maintaining Rust’s strict sharing rules and the same goes for JavaScript.
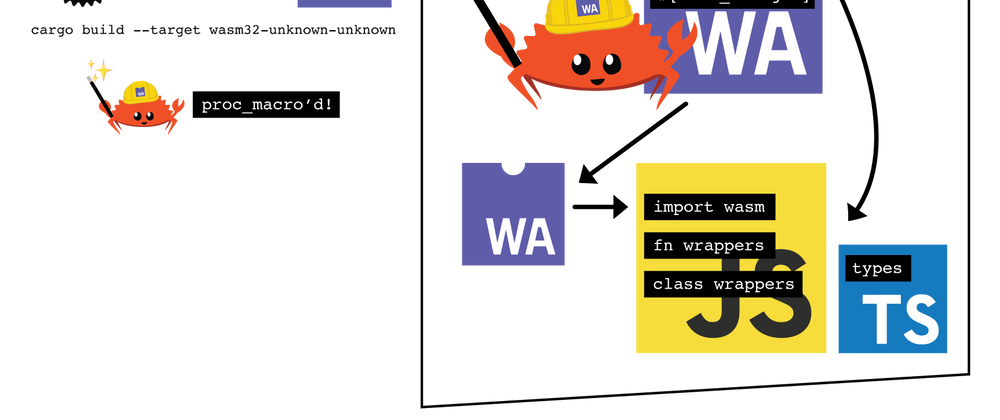
wasm-bindgen injects some metadata into compiled WebAssembly module.
uses procedural macros and a few other features.
A separate command-line tool reads that metadata to generate an appropriate JavaScript wrapper containing the kinds of functions, classes, and other primitives that the developer wants to be bound to Rust.
Environment setup
1. Add wasm32-unknown-unknown target to rustup compiler by below command.
$ rustup target add wasm32-unknown-unknown
2. Installing wasm-bindgen
Install rustup nightly, and webassembly bindgen command line tool here we are specifically calling it from the nightly branch of rust.
$ rustup toolchain install nightly
$ cargo +nightly install wasm-bindgen-cli
this will take a few minutes depending upon your internet speed
3. Create a new Rust WebAssembly Project
rust wasm library where the file is named as wasm_demo package
$ cargo +nightly new wasm_example --lib
Now jump inside the folder and open your fav IDE. (recommended VS code).
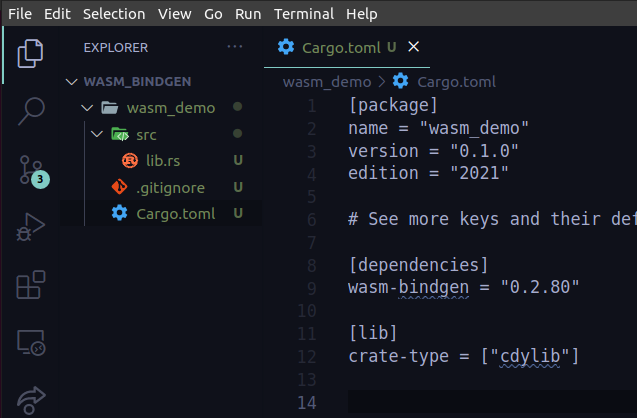
Inside the src/Cargo.toml
set the dependency to the latest wasm-bindgen version and library crate-type
Here for me, the latest version is 0.2.80 you must use the latest the time you referring to this.
[dependencies]
wasm-bindgen = "0.2.80"
[lib]
crate-type = ["cdylib"]
To get all the dependencies and build out a boilerplate application that was generated by the cargo run.
cd wasm_demo
cargo build
with this, you are all set to run the program in the environment
Now let's start with the coding part.
Inside the lib.rs folder, we get default boilerplate to remove that and to set up the file to compile into webassembly
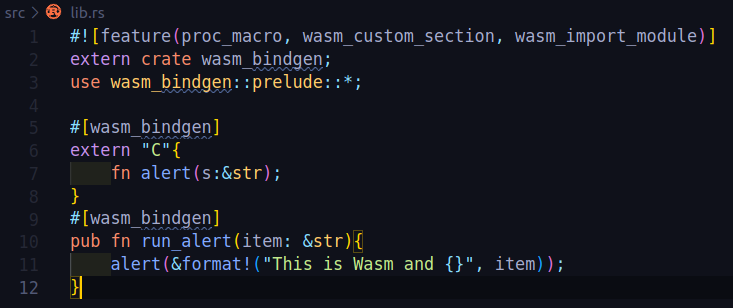
extern crate wasm_bindgen;
use wasm_bindgen::prelude::*;
The application is going to have two main points
extern block and a block below it.
extern block: it allows us to define a bunch of function and object definitions of the items that exist inside of the JavaScript that we are interfacing with
Alert function:
The first binds the alert() function in Rust program to the alert() JavaScript function. With this, the Rust code that invokes the alert() function will be converted into a code that calls the JavaScript alert() function inside a WebAssembly module.
#[wasm_bindgen]
extern "C"{
    fn alert(s:&str);
}
"#[wasm_bindgen]" triggers the invocation of the Rust compile-time macro that generates some code on your behalf.
in the second part/block we can call this alert function inside of a native rust function, we can call this function from JavaScript.
#[wasm_bindgen]
pub fn run_alert(item: &str){
    alert(&format!("This is Wasm and {}", item));
}
here the function run alert takes a slice of string which we can send in from the JavaScript flare and then it applies it to whatever we want inside the function body.
we use the format_macro which will make it into a reference to a slice of string. and enables us to have apart from the rust and apart from the JavaScript code.
What we did a summary
- Defined an alert function and its types inside of this external block so that the compiler will create some connections or shims between this function declaration and the actual function itself that exists inside the JavaScript virtual machine.
- created a native function that will go into the wasm module and will get access from JavaScript.
Final code look like
This will popup an alert box
Manipulate the DOM
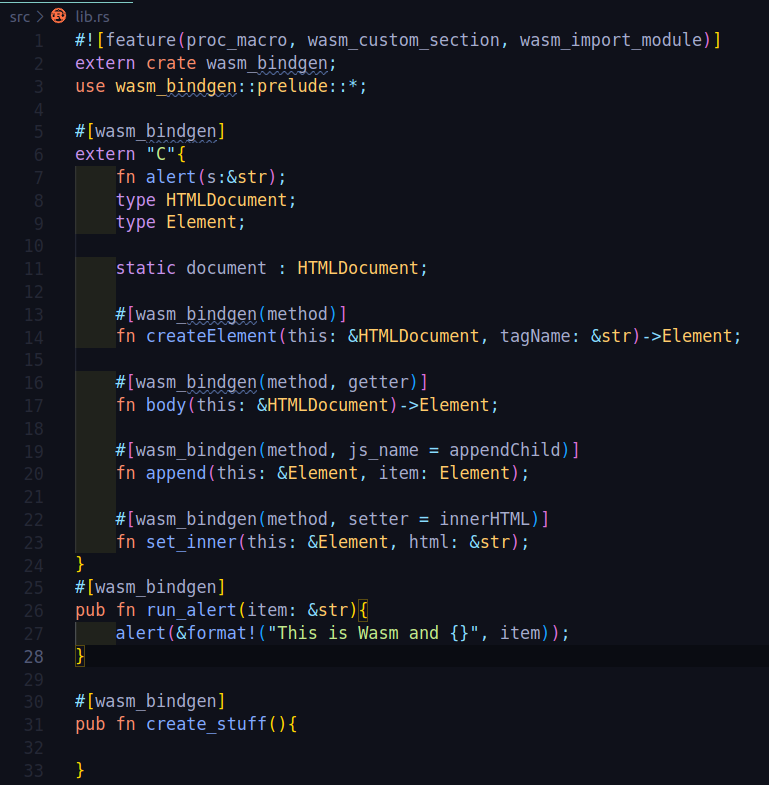
Define two types these types will correspond with types that exist inside JavaScript virtual machine
type HTMLDocument;
type Element;
static document: HTMLDocument;
HTML document type is the actual document itself.
In JavaScript .getelement call the entire object which is the reference to the actual document.
static document: HTMLDocument; -> creates a reference to that document variable by static type of HTML document.
allows us to access methods like creating element, body, and appendchild.
Create element method add declarative macro and define actual method type annotation so this method gets called on a reference to HTML document, pass the tagName and outputs an element type:
#[wasm_bindgen(method)]
fn createElement(this: &HTMLDocument, tagName: &str)-> Element;
we can access this create element function inside of this newly created create_stuff function it is the native rust function and inside we created HTML element div tag and p tag
in which we can add text by importing the inner HTML property
#[wasm_bindgen]
pub fn create_stuff(){
    let div = document.createElement("div);
    let p = document.createElement("p");
}
before alert creates a static HTML document object for a body of the document to create a function body, the declarative macro defines as a method as a getter that takes the object itself and returns the root element of the document object for a reference to the HTML document
#[wasm_bindgen(method, getter)]
fn body(this: &HTMLDocument)->Element;
js_name storing the function name as appendChild even though the function we defined is named as append we call the element and pass the element to be appended.
#[wasm_bindgen(method, js_name = appendChild)]
    fn append(this: &Element, item: Element);
create an inner HTML setter function called set inner, in the declarative macro we're defining this as a method as it is but it's a setter this enables us to use equality and we can pass the name of the JavaScript function directly rather than js_name property. in the Rust portion, we call this on reference for the element. then pass it to the slice of string.
#[wasm_bindgen(method, setter = innerHTML)]
    fn set_inner(this: &Element, html: &str);
Now to put text inside of the p tag we use the set_inner method in the p tag object and pass the slice of string to be stored
later append the p tag to the div tag.
add the document body and append the div which has the p attached to it. to the actual HTML document
p.set_inner("Hello from WASM in Rust!");
div.append(p);
Now we are all set to build it for WebAssembly!
Building the project
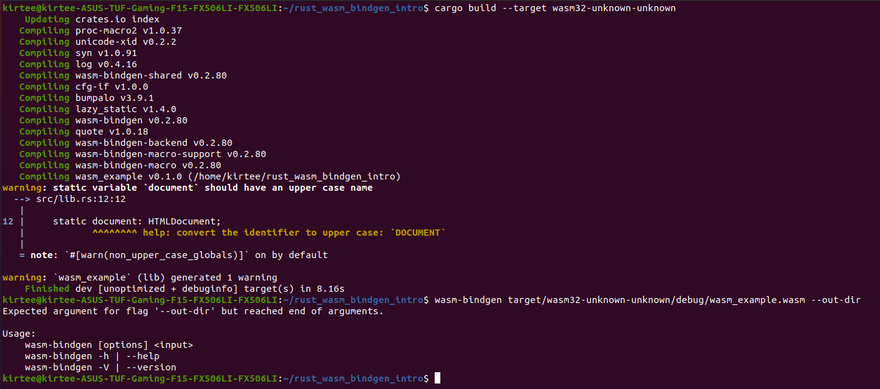
$ cargo build --target wasm32-unknown-unknown
To produce a new wasm and javascript wrapper files.
wasm-bindgen target/wasm32-unknown-unknown/debug/wasm_example.wasm --out-dir .
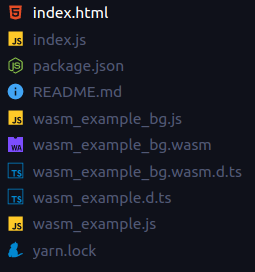
Now have a new wasm , JavaScript, TypeScript file inside the root directory
Inside of TypeScript file: Has two native functions that we defined inside Rust library run_alert and create_stuff also have type annotations for both of these functions.
Inside the JavaScript file: Essentially it works to glue together the webAssembly and the other JavaScript.
Create Index.js file
In the root of the application create index.js and import the WebAssembly file.
Reference this rust variable, since the rust module returns a promise using the then method. call the two functions created earlier
const rust = import('./wasm_example')

rust.then(func => {
    func.create_stuff()
    func.run_alert("JavaScript")
})
create package.json and add
this enables to use of webpack to pack up WebAssembly and JavaScript and serve it to the browser
the script automatically deploys the web pack dev server this gets executed on calling yarn serve
{
    "scripts": {
        "serve": "webpack-dev-server"
    },
    "devDependencies": {
        "webpack": "4.15.1",
        "webpack-cli": "3.0.8",
        "webpack-dev-server": "3.1.4"
    }
}
create a configuration file names webpack.config.js inside it add the bare minimum with mode development and add the following
const path = require("path");
module.exports ={
    entry: "./index.js",
    output:{
        path: path.resolve(__dirname, "dist"),
        filename: "index.js",
    },
    mode: "development"
};
Lastly, create an HTML document and add the following code
<!DOCTYPE html>
<html lang="en">

<head>
    <meta charset="UTF-8">
    <meta name="viewport" content="width=device-width, initial-scale=1.0">
    <meta http-equiv="X-UA-Compatible" content="ie=edge">
    <title>Rust Wasm Example</title>
</head>

<body>
    <script src="./index.js"></script>

</body>

</html>
Run project
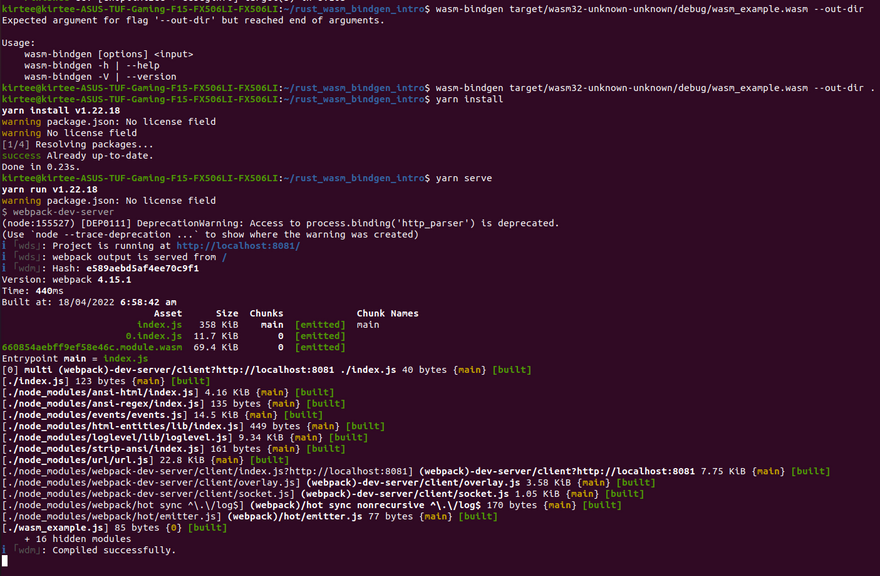
to start the server and run the application use commands.
yarn install
yarn serve
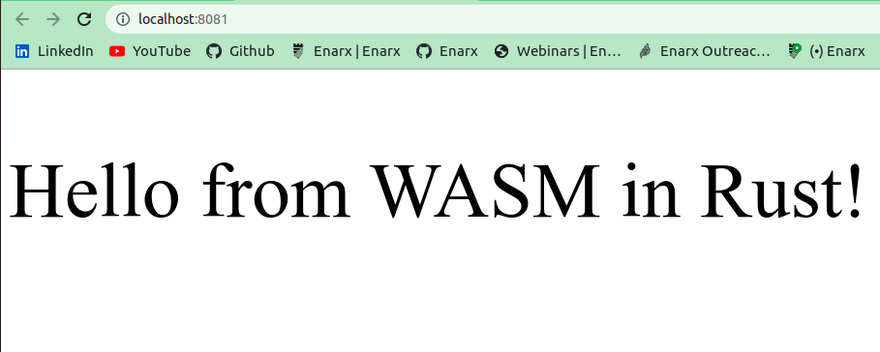
So this is what the demo gonna look like.
Reference:




Top comments (0)