Welcome to the another Blog.
This one is going to be Super exciting!
Today, we're going to create Video to .gif convertor using wasm.
This could be used as your wasm projects or a mini project.
WebAssembly has made things so easy as traditionally we use to upload our apps to cloud server, where the server was working at the back end. But wasm allow us to perform CPU intensive jobs directly on our browser.
Here, we will use FFmpeg library(written in c language) to convert a video to gif. We will download wasm binary for ffmpeg directly into a react app which can enable us to offload the video editing work into our system directly through the browser.
So, Lets get Started.
1. Creating a Directory
a. Create a new directory wasm-gif.
b. Move into the directory cd wasm-gif/
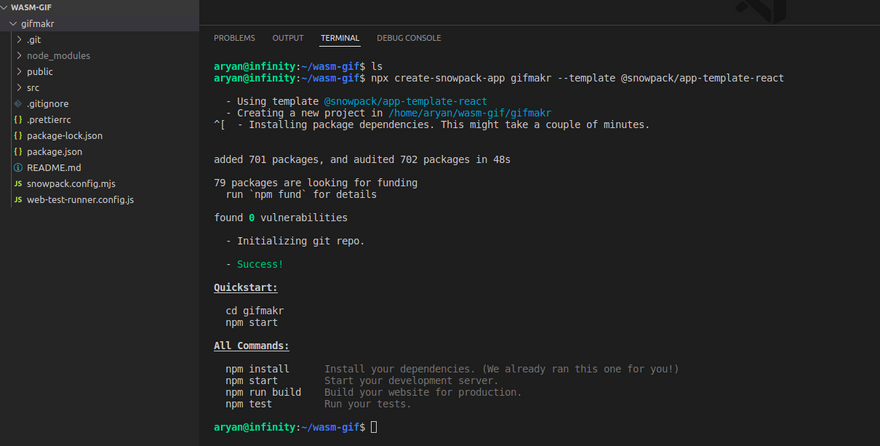
2. Generating a new react app using snowpack:
npx create-snowpack-app gifmakr --template @snowpack/app-template-react
It will automatically fetch files for the react app.
3. Install FFmpeg
npm install @ffmpeg/ffmpeg @ffmpeg/core
4. Run the App
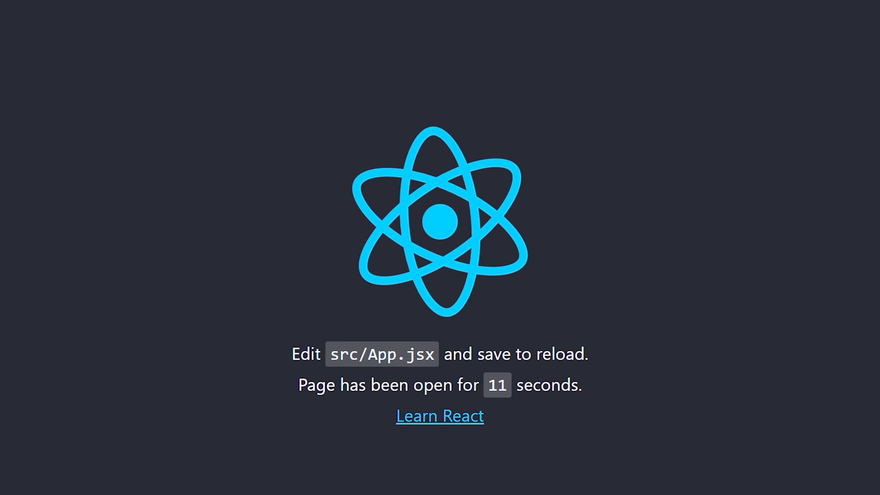
npm start
This command will let the default react app run in the browser.
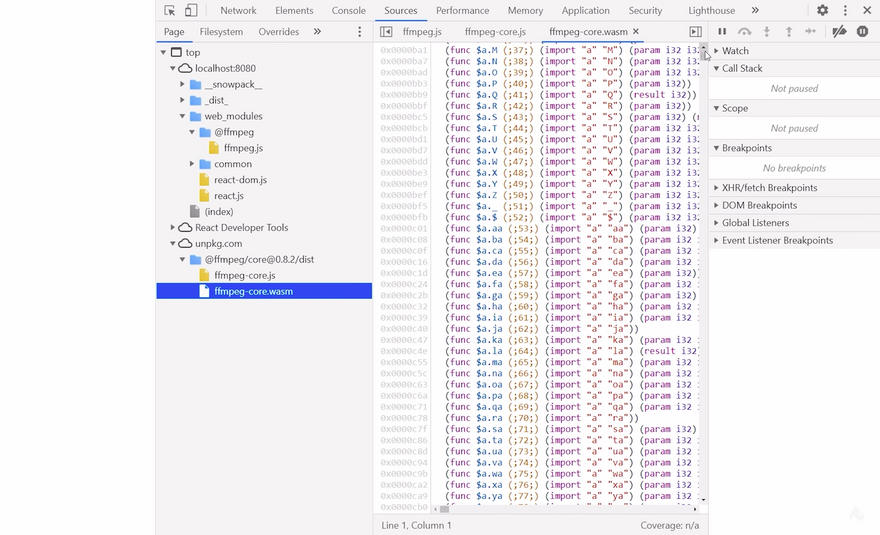
If we check the Sources tab in elements/developer tools of the Browser, we can see the code converted into WebAssembly Text.
5. Writing the react code.
a. Go to src/ and open App.jsx and remove the boilerplate.
b. Add
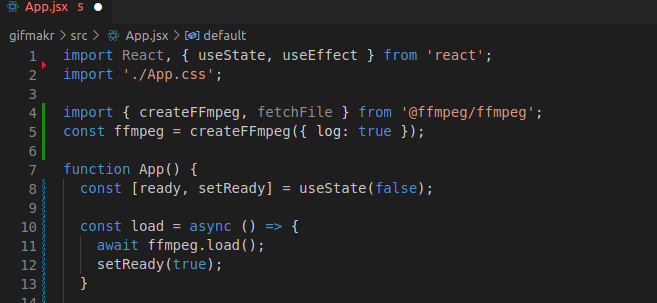
(i) working with this library we'll set the log option to true so we can see everything that it does directly in the console now it's important to understand at this point that the actual webassembly binary has not been bundled in our application it's a pretty large file so we don't want it to block our web application right away.
import { createFFmpeg, fetchFile } from '@ffmpeg/ffmpeg';
const ffmpeg = createFFmpeg({ log: true });
(ii) To keep track of the loading state we'll go ahead and add a stateful property here called ready with the use state hook it has a default value of false and then we'll create an async function here called load that can flip it to true after the binary has been loaded.
function App() {
  const [ready, setReady] = useState(false);

  const load = async () => {
    await ffmpeg.load();
    setReady(true);
  }
(iii) Now we just need a place to call this function in react, So we can do that with the use effect hook to run this function when the component is first initialized use effect takes a function as its argument then notice how i'm adding an empty array as the second argument this will ensure that the function is only called once when the component is first initialized or mounted then inside the effect we can simply call our load function.
 useEffect(() => {
    load();
  }, [])


  return ready ? () : ( <p> Loading...</p> );
}

export default App;
6. Loading the Video file into the application
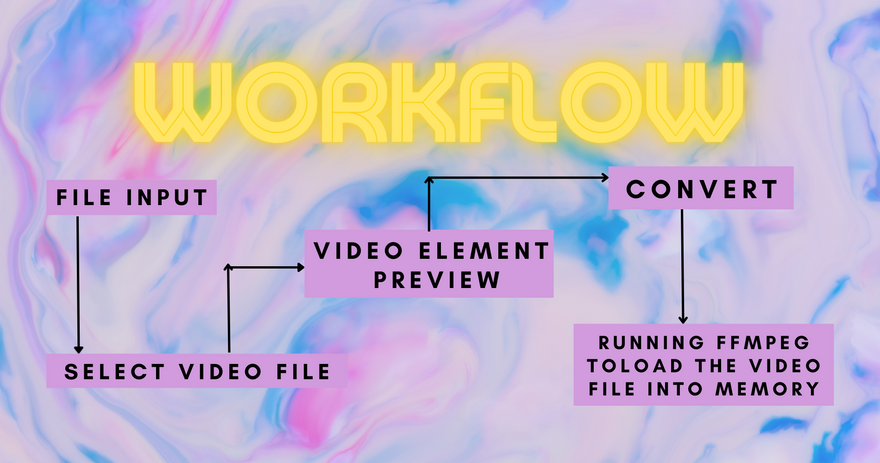
a. The first step is to add additional state to the component in this case a video file which will initially start undefined in the html we can add an input element with a type of file when this input changes we'll run an event handler that will set the video state and it gets the actual file from the event the event emits a file list and then we use item 0(FILE Object) to select the first file from that list.
function App() {
  const [ready, setReady] = useState(false);
  const [video, setVideo] = useState();
  const [gif, setGif] = useState();

  const load = async () => {
    await ffmpeg.load();
    setReady(true);
  }

  useEffect(() => {
    load();
  }, [])
b. Now that we have access to a video file we want to display it in an html video element we'll use a logical and operator to only show the video when the video file is defined the element has controls a width of 250 but a tricky thing here is that we can't just pass the raw file to the source attribute we need to convert it to a url that the
browser can fetch therefore assign a file to the URL.
 <div className="App">
      { video && <video
        controls
        width="250"
        src={URL.createObjectURL(video)}>

      </video>}


      <input type="file" onChange={(e) => setVideo(e.target.files?.item(0))} />

      <h3>Result</h3>

      <button onClick={convertToGif}>Convert</button>

      { gif && <img src={gif} width="250" />}

    </div>
  )
    :
    (
      <p>Loading...</p>
    );
}

export default App;
c. Now, we'll do here is add one more piece of state to the component called gif and it will be used to hold the end result which is a url of an image file from there we'll create a function called convert to gif which the user can run when they're ready to make the conversion now one thing to understand here is that webassembly is managing its own
in-memory file system and in order to run ffmpeg on that file we need to make it known to that file system we can do that by calling fs or filesystem along with the write file method along with the name of the fileand then we fetch the actual video file that we've collected from the end user what we've done is taken the video file and saved it to a place in memory as test.mp4 it can be now accessed by webassembly while it's in memory and it only stays in memory until the browser is refreshed from there we can run an actual ffmpeg
command.
import React, { useState, useEffect } from 'react';
import './App.css';

import { createFFmpeg, fetchFile } from '@ffmpeg/ffmpeg';
const ffmpeg = createFFmpeg({ log: true });

function App() {
  const [ready, setReady] = useState(false);
  const [video, setVideo] = useState();
  const [gif, setGif] = useState();

  const load = async () => {
    await ffmpeg.load();
    setReady(true);
  }

  useEffect(() => {
    load();
  }, [])

  const convertToGif = async () => {
    // Write the file to memory
    ffmpeg.FS('writeFile', 'test.mp4', await fetchFile(video));

    // Run the FFMpeg command
    await ffmpeg.run('-i', 'test.mp4', '-t', '2.5', '-ss', '2.0', '-f', 'gif', 'out.gif');

    // Read the result
    const data = ffmpeg.FS('readFile', 'out.gif');

    // Create a URL
    const url = URL.createObjectURL(new Blob([data.buffer], { type: 'image/gif' }));
    setGif(url)
  }

  return ready ? (

    <div className="App">
      { video && <video
        controls
        width="250"
        src={URL.createObjectURL(video)}>

      </video>}


      <input type="file" onChange={(e) => setVideo(e.target.files?.item(0))} />

      <h3>Result</h3>

      <button onClick={convertToGif}>Convert</button>

      { gif && <img src={gif} width="250" />}

    </div>
  )
    :
    (
      <p>Loading...</p>
    );
}

export default App;
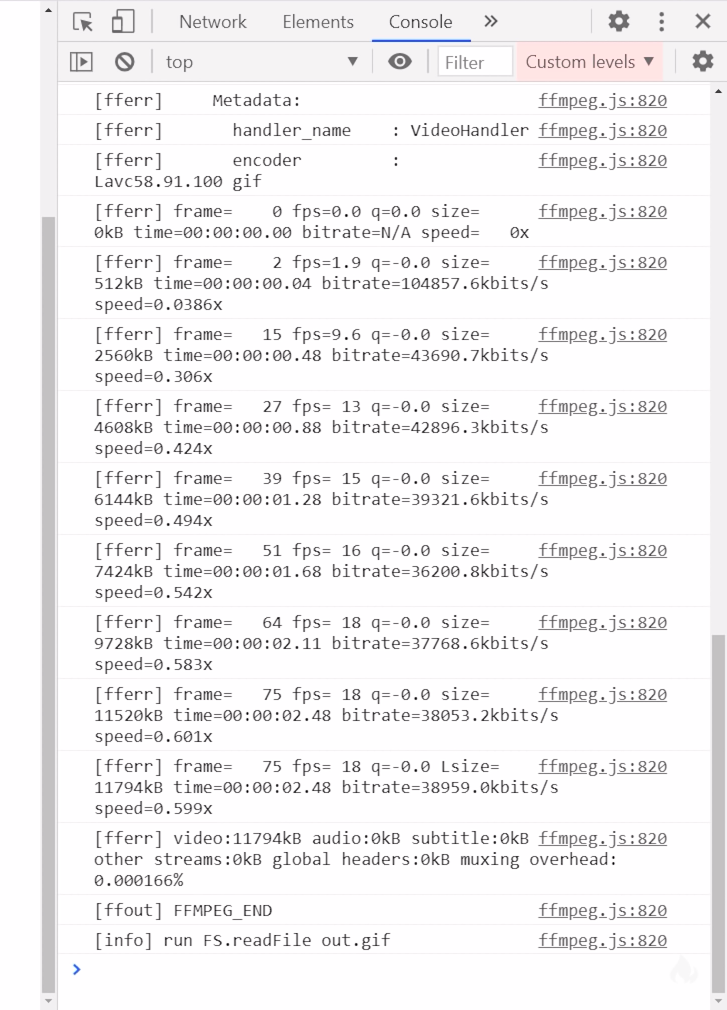
Finally, now we be able to open up your demo select a video file then when you click the convert button it uses webassembly to convert that file to an animated gif and it should log the entire process here in the console you could then take this file and upload it to giphy or use it on twitter or whatever you want and that's how easy it is to start incorporating webassembly into your web applications.
We Can also use CSS to make this app more interactive and beautiful.
Disclaimer: This application will only work on the browsers which support SharedArrayBuffer.
Try to install previous version of browsers if you are unable to build this app.
Reference:
- https://ffmpeg.org/documentation.html
- https://github.com/fireship-io/react-wasm-gif-maker/
- https://codeburst.io/getting-started-with-react-and-webassembly-using-hooks-441818c91608
- https://medium.com/@anksaiki/using-web-assembly-in-a-react-app-8b59e5e9f5aa
Do comment your ideas and suggestions related to the blog and please share if you found it useful.
Write your queries in comment section, we'll help you to resolve your errors.








Top comments (6)
This seems like a really good use of Wasm.
yeah, there are a lot more applications we can use through wasm.
So cool, it really good, Aryan you did an amazing thing!
Thanks @anara
Wao this is super fun Great Work! @aryank21 😃
thanks @kirteeprajapati :)