
Sept 4th, 2022 - update following release 0.1.9
One of the significant advantages of WASM outside the browser is that a wasm application consumes much fewer resources than a more classic application in Java, Node.js, Ruby, Php, ...
By the way, my pet project is to develop my website with WASM and Capsule and self-host on an RPI3A+ ... But it's another topic for another blog post.
So I decided that with each new release of Capsule (my little http server for wasm nano services), I would code a "useful" example going beyond the simple "hello world". The stated goal of this blog post is to demonstrate that "wasm outside the browser" (aka WASI) is a relevant solution for your future applications.
If you don't know Capsule, you can read the introduction blog post Capsule, my personal wasm multi-tools knife
So let's see how to "fit" a Lit web app into a wasm module (Lit is a simple library for building fast, lightweight web components.).
The Single Page Application
My Single Page Application comprises three files and uses the Lit library. I will use a convenient possibility of Go (and TinyGo): it is possible to bundle resources in a running Go program thanks to the embed package and then access the resources.
The three files of the SPA are in the
resourcesdirectory
.
├── go.mod
├── index.go
├── resources
│  ├── index.html
│  ├── index.js
│  └── styles.js
I want to merge the three files into a single html file. Then embed the html resource in the wasm module to be able to serve it with Capsule.
The easiest way to merge the SPA files into one is to use Parcel
So, create in a directory, another directory resources with three files. We are defining the content of the files in the next section.
Content of the three files
index.html:
<html>
  <head>
    <meta charset="utf-8">
    <title>Wasm is fantastic 😍</title>
      <meta name="viewport" content="width=device-width, initial-scale=1">
      <script type="module">
        import value from "./index.js"; 1️⃣
      </script>
  </head>

  <body>
    <main-app></main-app> 2️⃣
  </body>

</html>
- 1️⃣: this notation allows Parcel to use and embed the JavaScript file.
- 2️⃣: this is a Lit component
With Lit, we can define the CSS styles in JavaScript
(https://lit.dev/docs/components/styles/#sharing-styles), then it easier to share styles between various web components.
styles.js:
import {css} from 'lit-element';

export const myStyles = css`
.container {
  min-height: 100vh;
  display: flex;
  justify-content: center;
  align-items: center;
  text-align: center;
}
.title {
  font-family: "Source Sans Pro", "Helvetica Neue", Arial, sans-serif;
  display: block;
  font-weight: 300;
  font-size: 100px;
  color: #35495e;
  letter-spacing: 1px;
}
.subtitle {
  font-family: "Source Sans Pro", "Helvetica Neue", Arial, sans-serif;
  font-weight: 300;
  font-size: 42px;
  color: #526488;
  word-spacing: 5px;
  padding-bottom: 15px;
}
`;
This SPA is very simplistic; I defined all the web components in only one file, index.js.
index.js:
import { LitElement, html, css} from 'lit-element';
import { myStyles as myStyles } from './styles.js';

class HelloWorld extends LitElement {
  static styles = [myStyles]

  render() {
    return html`
    <h1 class="title">👋 Hello World 🌍</h1>
    `;
  }
}

customElements.define('hello-world', HelloWorld);

class ServedByCapsule extends LitElement {
  static styles = [myStyles]

  render() {
    return html`
    <h2 class="subtitle">Served with 💜 by Capsule 💊</h2>
    `;
  }
}

customElements.define('served-by-capsule', ServedByCapsule);

class LittleMessage extends LitElement {
  static styles = [myStyles]

  render() {
    return html`
    <h2 class="subtitle"> {{message}} </h2> 1️⃣
    `;
  }
}

customElements.define('little-message', LittleMessage);

class MainApp extends LitElement { 2️⃣
  static styles = [myStyles]

  render() {
    return html`
    <section class="container">
      <div>
        <hello-world></hello-world>
        <served-by-capsule></served-by-capsule>
        <little-message></little-message>
      </div>
    </section>
    `;
  }
}

customElements.define('main-app', MainApp);
- 1️⃣: this is not related to Lit. I will use it later to substitute
{{message}}with the value of an environment variable.- 2️⃣:
MainAppis the main component of the application, it will be mounted in the html page thanks to the tag<main-app></main-app>
Bundle the three files into a single one
As I said at the beginning of the blog post, the easiest way to do this is using Parcel.
In the resources directory, create a package.json file.
package.json:
{
  "scripts": {
    "start": "parcel index.html",
    "build": "parcel build index.html"
  },
  "devDependencies": {
    "parcel": "^2.7.0"
  },
  "dependencies": {
    "lit-element": "^3.2.2"
  }
}
And then, run this command: npm install to install both Parcel and Lit.
For developing the web application and see the changes (the web application is served and reloaded at every change), you can use the command npm start.
To bundle all the files into a single file, use the following command:
cd resources
npm run build
The command will create a dist directory with the bundle (index.html).
.
├── resources
│  ├── dist
|  |   └── index.html
│  ├── index.html
│  ├── index.js
│  └── styles.js
It's time to create the wasm capsule module.
The Wasm Capsule Module
Write the wasm function
To generate the module, we need two files at the root of the project directory: go.mod and index.go
.
├── go.mod
├── index.go
├── resources
│  ├── dist
|  |   └── index.html
│  ├── index.html
│  ├── index.js
│  └── styles.js
go mod:
module lit-demo

go 1.18
Use
go mod init lit-demoto generate it (and usego mod tidyto download all the dependencies).
index.go:
package main

import (
  _ "embed"
  "strings"
  hf "github.com/bots-garden/capsule/capsulemodule/hostfunctions"
)

var (
  //go:embed resources/dist/index.html 1️⃣
  html []byte
)

func main() {
  hf.SetHandleHttp(Handle)
}

func Handle(hf.Request) (resp hf.Response, errResp error) {

  // Read the environment variable
  message, err := hf.GetEnv("MESSAGE")

  // Set the response format
  headers := map[string]string{
    "Content-Type": "text/html; charset=utf-8",
  }

  htmlPage
    := strings.Replace( 2️⃣
      string(html),
      "{{message}}",
      message,
      -1)

  return hf.Response{Body: htmlPage, Headers: headers}, err
}
- 1️⃣: explain to the TinyGo compiler where is the embedded resource and put the content of
index.htmlin a bytes' array.- 2️⃣: replace
{{message}}with the content of theMESSAGEenvironment variable.
Build and serve the SPA
First, to build the wasm module, use the below command:
tinygo build -o index.wasm -target wasi ./index.go
Then, you need to install the last version of Capsule:
CAPSULE_VERSION="0.1.9"
OS="linux"
ARCH="amd64"
wget https://github.com/bots-garden/capsule/releases/\
download/${CAPSULE_VERSION}/\
capsule-${CAPSULE_VERSION}-${OS}-${ARCH}.tar.gz

sudo tar -zxf \
capsule-${CAPSULE_VERSION}-${OS}-${ARCH}.tar.gz \
--directory /usr/local/bin

rm capsule-${CAPSULE_VERSION}-${OS}-${ARCH}.tar.gz
- You can check the setup:
capsule version- You can download other release for MacOS (intel and arm64), Linux Arm64 (it runs like a charm on a Pi3A+ and probably a Pi Zero 2 (I need one)). See https://github.com/bots-garden/capsule/releases/tag/0.1.7
And finally, run the below command to serve the SPA:
MESSAGE="I 💙 Lit-Element" capsule \
-wasm=./index.wasm \
-mode=http \
-httpPort=8080
and open http://localhost:8080 with your browser:
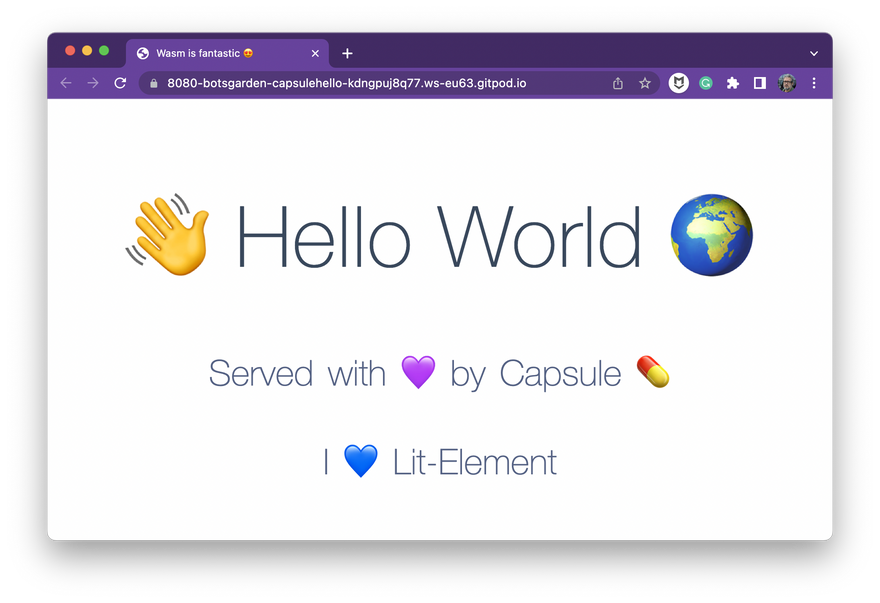
🎉 As you can see, it's pretty easy to embed a Single Page Application in a wasm module. You can use the same technique with Sat from Suborbital or Spin from Fermyon.All the magic parts are done thanks to Parcel and the GoLang embed package.
Next time (with the next release of Capsule) we will see how to use Redis as a service discovery with Capsule nano services.
👋 Have a nice day 🙂
- You can find all the source code of the project here: capsule-hello-universe/serve-bundle. It's a part of a Gitpod project, so you don't need to install anything.
- Photo by Leohoho on Unsplash

Latest comments (0)